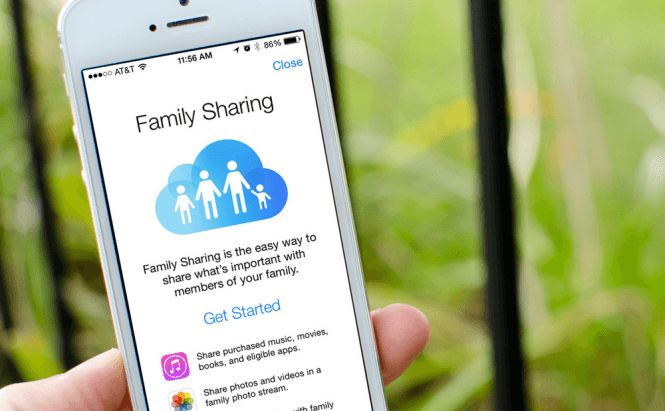
 All you need to know about Family Sharing on iOS
Those who have iOS 8 or a newer version of Apple's mobile operating system can use a feature called Family Sharing. Although this function is actually quite advantageous, not many people know what it does or how to use it. This is why, I've decided to write this short article and explain to everyone who's interested exactly what Family Sharing is, how you can set it up on your devices and even offer a few tips that might really come in handy in specific situations.
What is it?
As you can probably guess from its name, Family Sharing is a system that allows you to share music, movies, books and apps with a group of six other people. This means that if one person purchases something like an album or a book, all the other members of the group can copy it to their devices and access it for free. The good news is that as far as I know, Apple never really verifies if you're actually related to the other people in your Family Sharing group, so you can include everyone you want, but keep in mind that you're only allowed a limited number of people, depending on the content that you're sharing. Each family will have one Family Organizer, which means that everything purchased through Family Sharing will use that person's Apple ID.
Besides the option to share the things that you buy with others (or gain access to stuff other people bought), Family Sharing also offers several other advantages. For example, in case you want to include your children in your group, you will be able to stop them from making any purchases without your consent. Additionally, you can also share your location with the other members of your family so that you always know where each other is.
Setting up Family Sharing
In order to setup a Family Sharing group, you will need three things:
- as previously stated a device running iOS 8 or a newer version of the OS;
- a valid Apple ID with an attached credit card;
- the email address of all the people that you want to invite to your group.
If you meet all the previous three requirements, the process is quite easy:
- Launch your device's Settings, go to iCloud, then choose Family and press the Get Started button.
- Confirm that you want to fill the role of Family Organizer.
- Confirm that you wish to share your purchases.
- Provide the payment method for the content that you are going to purchase.
- Choose if you also want your family members to share their locations.
- Invite people by going to Settings --> iCloud --> Family, tapping the Add New Family Member button and entering the person's email address (the one associated to their Apple ID).
- Lastly, go to Settings --> iCloud --> Family, select your name and make sure that Share my Purchases feature is enabled.
After you've added the people that will be part of your Apple family, wait for them to confirm and you're good to go.
Taking advantage of Family Sharing
Once everything is set up, you can start taking advantage of the Family Sharing feature by downloading the purchased content on all the other devices in the group. To do this, simply go to the App Store, iTunes or iBooks (depending on the content that you want to download), check the Purchased category and look for the member whose items you're interested in. Tap the respective name, then select the content and download it. Additionally, you can also listen to your Family's Apple Music songs, but the Family Organizer would have had to choose the !5$ Family Membership instead of the regular $10 one.
There are two more important tips that I should give you: there's a feature that allows you to hide purchased content from the other members of your group and an Ask to Buy function that limits your children's ability to purchase stuff: To hide any of your apps, go to the Updates menu, then select Purchases and tap the My Purchases button. Now, choose the app that you don't want the others to have, swipe left on its name and press the Hide option. iTunes and iBooks also have similar options embedded in the Purchases menu.
To set up the Ask to Buy function open your device's Settings, tap the iCloud button and choose the Family option. Now, select the member who needs your permission in order to make purchases, and enable the Ask to Buy option. One small catch here: if you turn off this setting for someone who's over 18, you won't be able to turn it back to on.
Now that you know how to use Family Sharing on iOS, you might also want to find out how to "Blacklist a phone number on iOS" or what are "Best time-tracking apps for iOS".


